


before then stripped and painted,
handpainted a crown, upholstered the back with ruffles, finished the seat and added a cream ribbon with nailhead trim.


One Man's Trash...turned into my Treasured Rubbish! By: Palma Home Design
 When you only have one barstool and none matching you might as well make 1 super cute! I started by sanding/painting the wood. Then added the fluer de lis in the center. I wanted to do something super cute on the seat so I laid out the fabric and pinned it then sewed the sides so that the seat cushion is ruched linen. I then added the linen and burlap ruffle underneath for a skirted look, then some twine in all of the creases of wood, and a corset with nailheads to the back and added more linen ruffles that can be seen from the front as well! This chair will be displayed and for sale at a local winery event!


 Of course my baby boy had to make his debut!

 I used it for a friends baby nursery (more pics to follow) made an upholostered lid and voila!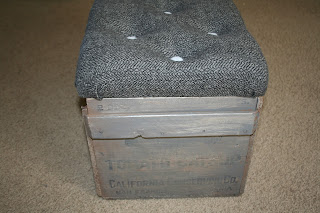


 Next hem all of the edges of your fabric. Then lay it out, and glue the top of the blind onto the top of the fabric.


 And the finished product! I would make sure to use a little thicker fabric because you do see the slats when the sun comes through.


 Start with cutting circles from fabric, I used the cap off a spray paint can to trace my circles. I cut about 90 for this larger flower.


 Start by taking off all of the slats, so all you have are the strings.
